Un-gzip/tar'd the files into the linux-2.4.0 tree.
Compiled the kernel. Was sure we had IDE support and "macintosh
partition table" support.
Got the kernel booting on the test machine.
Configured our TiVo to NOT use the serial port. We told it to use the
IR to control the DSS receiver.
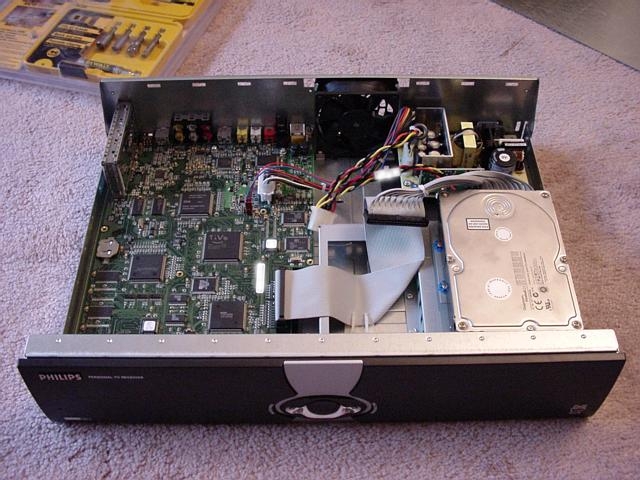
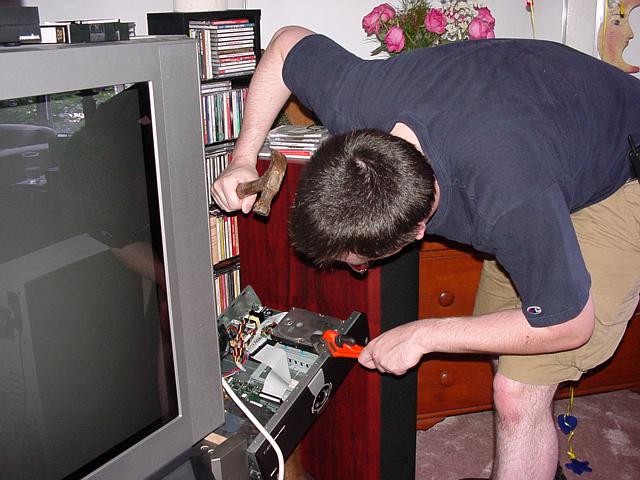
Opened up the TiVo.
This voided our warrenty. For us, we needed a torx driver.
Made sure our TiVo had only one drive. ;)
Took out the primary ("A") drive.
This took removing two screws near the front, and then lifting and
sliding the drive back off the rear
clips.
Set the new ("B") drive to "slave". Ours shipped in "master" (.8:::)
so we moved the jumper as shown on the top of the drive to "slave"
(.::8:).
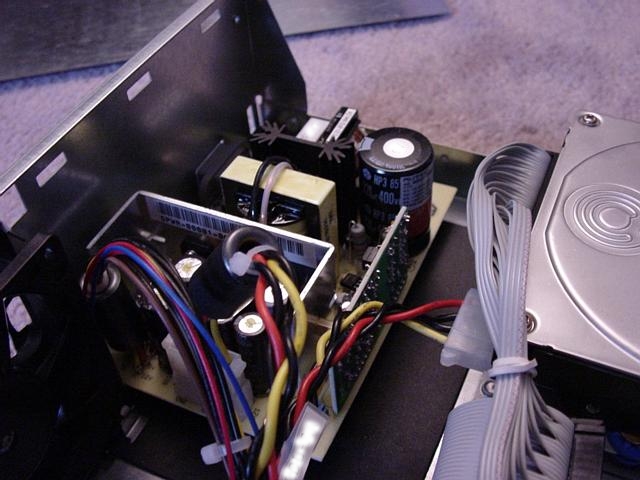
Mounted both drives on the secondary IDE chain. Our IDE cable was
bad, so we had to replace ours.
Booted the linux machine with byte swapping enabled for both drives.
I used 'append="hdc=bswap hdd=bswap"' in my /etc/lilo.conf. We could
type "hdc=bswap hdd=bswap" on the LILO prompt, too. I used the
secondary IDE chain, so my drives were hdc and hdd. If we used the
primary IDE chain, we'd have hda and hdb. So for us, drive A was hdc
and drive B was hdd.
On boot-up, we saw both quantum drives, and for drive A,
there were 11 mac partitions.
Mounted the 4th partition. ("mount /dev/hdc4 /mnt")
Saved a copy of /mnt/etc/rc.d/rc.sysinit. ("cp /mnt/etc/rc.d/rc.sysinit
/mnt/etc/rc.d/rc.sysinit.old")
Edited /mnt/etc/rc.d/rc.sysinit. Found the place in the script where
we saw the variable "shondss". There was be a line running "bash"
into and out of the serial port just below there. We copied this
line and placed it just before the entire "if" clause.
Blanked out the first few sectors of the B drive. We made SURE we
weren't destroying the original TiVo drive! ("dd if=/dev/zero
of=/dev/hdd bs=512 count=32")
Shutdown the linux box, and put both the hard drives back in the TiVo.
We needed to carefully cut the zip-tie holding the extra power
connector down inside the TiVo.
Turned on the linux box again, and loaded "minicom" on /dev/ttyS0.
Set the configuration parameters to 9600, 8N1, turned off flow
control, and turned off DCD support.
Plugged the TiVo serial cable into the null modem adapter, and the
adapter into the linux box's first serial port.
Around the "please wait a few more seconds" screen, we saw the
"bash" prompt show up in minicom.
Initialized the bootpage of the new drive. ("/sbin/bootpage -D
/dev/hdb; sync").
Shutdown the linux box, unplugged the TiVo, took out the B drive,
switched it back to "master", put it in the linux box, and powered the
linux box back on.
Set up the partition table on the drive. (Ran "pdisk /dev/hdc" and
typed:
i
w
y
q
).
Set up the Mac partitions on the drive. (Ran "pdisk -d /dev/hdc" and
typed:
C 2p 4M "Second MFS application region" MFS
C 3p 3p "Second MFS media region" MFS
x
m
3
x
w
y
q
).
Shutdown the Linux box, took out the drive, set the jumper back to
"slave", put it back in the TiVo, turned on the linux box, got back
into "minicom", and then plugged in the TiVo.
Once we had the "bash" prompt back, we needed to mount the
TiVo diagnostics partition. ("mount -t ext2 -o ro /dev/hda7 /mnt").
Set up the magic for the new drive. ("/mnt/diag/genAddDiskTiVoID
/dev/hdb3").
To get the TiVo serial port back to normal, we powered off the TiVo,
put drive A in the linux machine, mounted hdc4, and copied back the
saved version of rc.sysinit, shutdown the linux machine, and
moved the drive back to the TiVo.
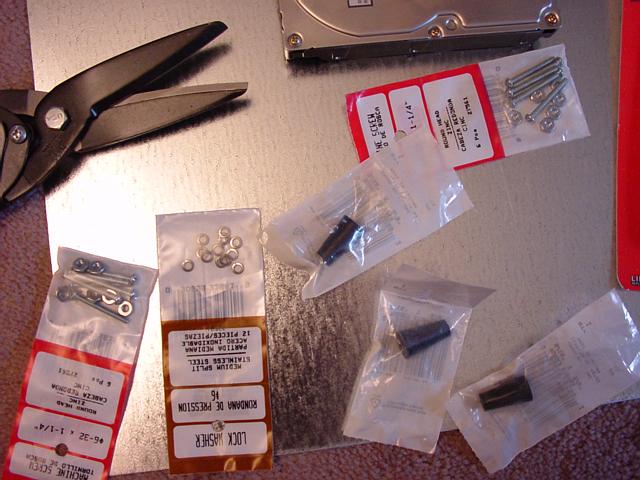
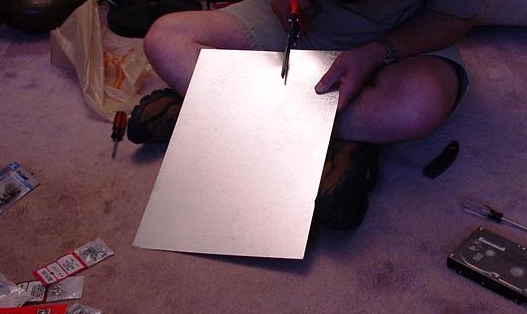
Now for the mounting hardware.
We cut two sheets out of our
sheet metal. One the size of the
harddrive, but with about half an inch
extra on either side. Then another sheet to cover the hole where the
second drive should be mounted.
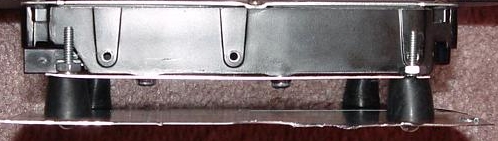
We drilled four holes in
the drive sheet for mounting the drive, and
four more holes in the outside corners for the rubber bumpers.
We drilled two holes in the other sheet to mount it in the TiVo case,
and for hole lined up with the four outside corner holes in the drive
sheet.
We cut the rubber bumpers down to about 3/4 of a inch in height, and
then drilled a hole vertically through the center.
We mounted the drive to the drive sheet, and then the TiVo case sheet
to the drive sheet with the rubber bumpers in between. The rubber
bumbers were screwed
in place with 4 long screws with a lock washer
and nut.
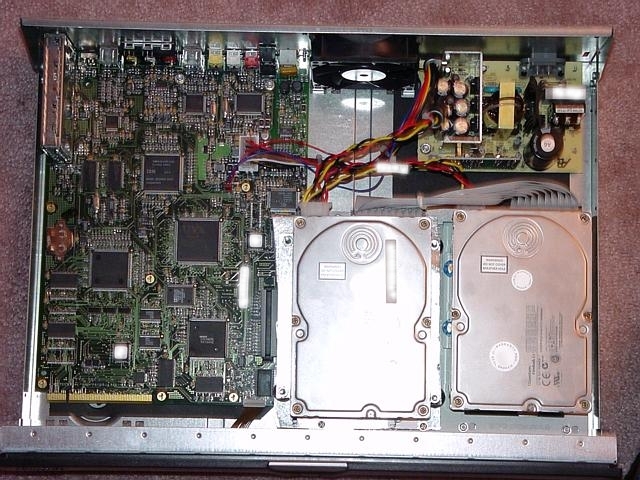
We mounted the entire assembly in the
TiVo case with the 2 case
screws. We tried to get the case sheet to hook around the rear
clips, but we didn't have enough sheet metal hanging over. Maybe
next time.